
Our website operates on the open-source platform called WordPress. More than likely, your website runs on WordPress too. Which is not surprising, considering that WordPress powers 20% of the web (https://wordpress.org/about/).
WordPress rapidly evolved from a tool for bloggers to a fully functioning system, perfect for small to medium sized businesses. We at Media Quest love to develop WordPress sites for our clients due to its great usability for the end users. The user-friendly backend section makes managing your website as easy as it is to use Facebook. Developers from all over the globe have expanded the capabilities of the open-source engine. With third party plugins, your WordPress site can handle everything from e-commerce to a social network.
Here’s how to login, navigate, and use your WordPress website.
How to Login
The administrative dashboard is located at yourdomain.com/wp-admin/ by default. To login, simply enter yourdomain.com/wp-admin/ into the address bar of your web browser. Check with your Webmaster if the location does not work.
Using your administrator credentials, login to the WordPress system.
In WordPress, there are three types of users that interact with your website: administrators, editors, and users. You, the website owner, are an administrator. Admins have full rights to make changes to every aspect of the website. Editors are limited to only have the power to modify posts, pages, and comments. Users are your customers visiting your website. Users do not have any privileges to modify the site – they are only allowed to browse, comment, or purchase.
WordPress Dashboard
Once you have successfully logged into your website, you will be greeted by the WordPress Dashboard. The dashboard provides at a glance information such as reports, site engagement, and more – third party dashboard widgets are available in the WordPress plugin store.
Site warnings will show up here on the Dashboard. Keep an eye out for update notifications. Do not update anything without checking with your webmaster first! Updates run the risk of changing things on your website that you do not want to.
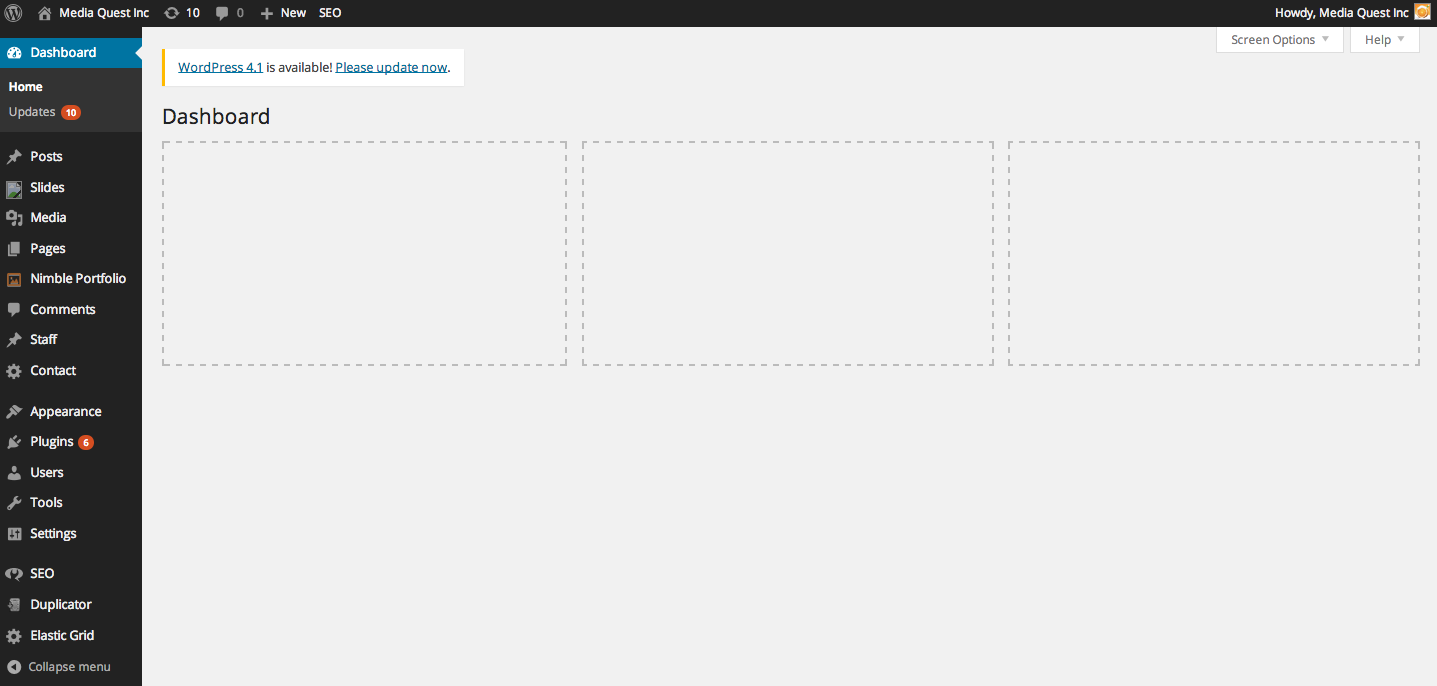
Menu
The menu options for modifying your WordPress site live on the left side of the dashboard. Choose the desired section that you wish to edit. For example, if you would like to add a new blog post, select the Posts menu option.

(Blog) Posts
By default, the Posts page lists all of your blog posts. From this list you may Bulk Edit all of the items or filter the list to show posts from a specific category.
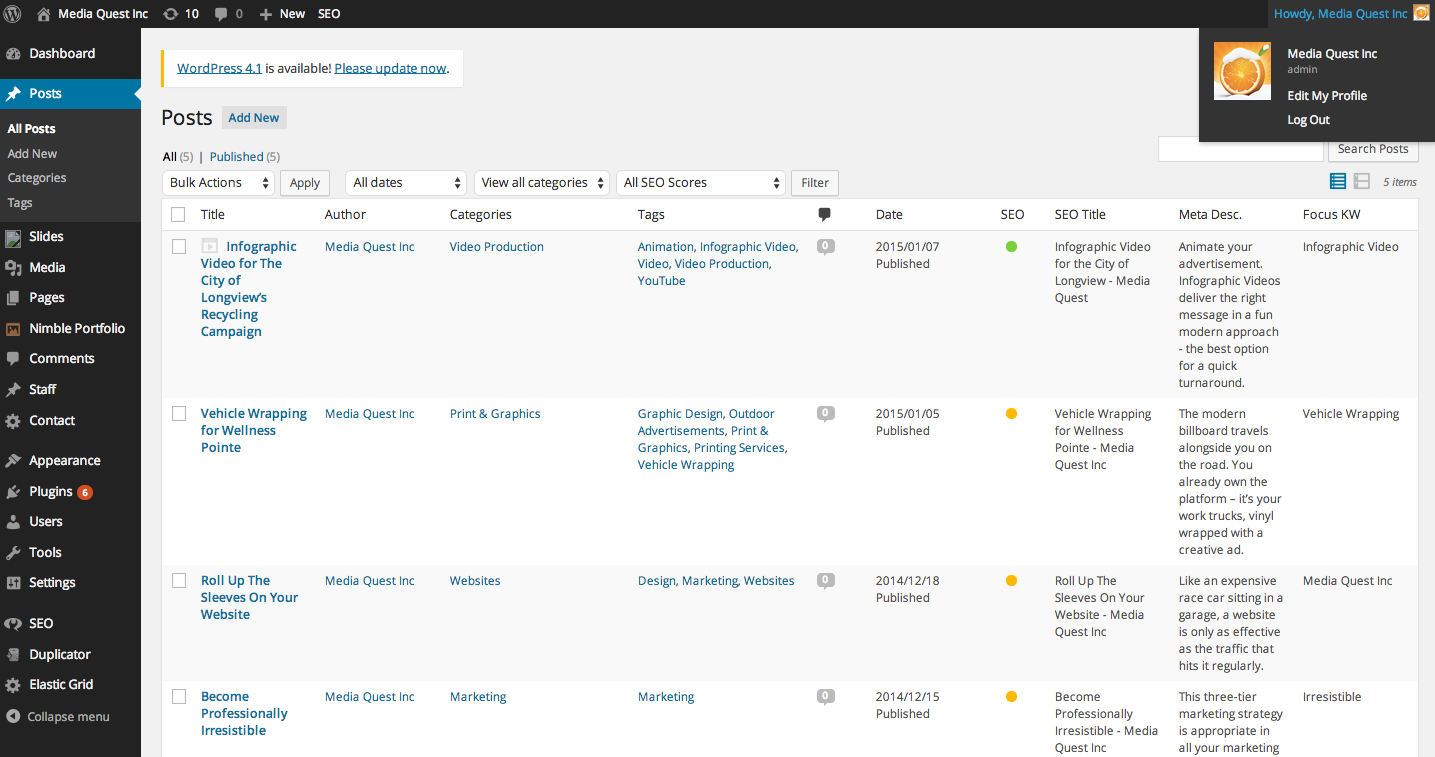
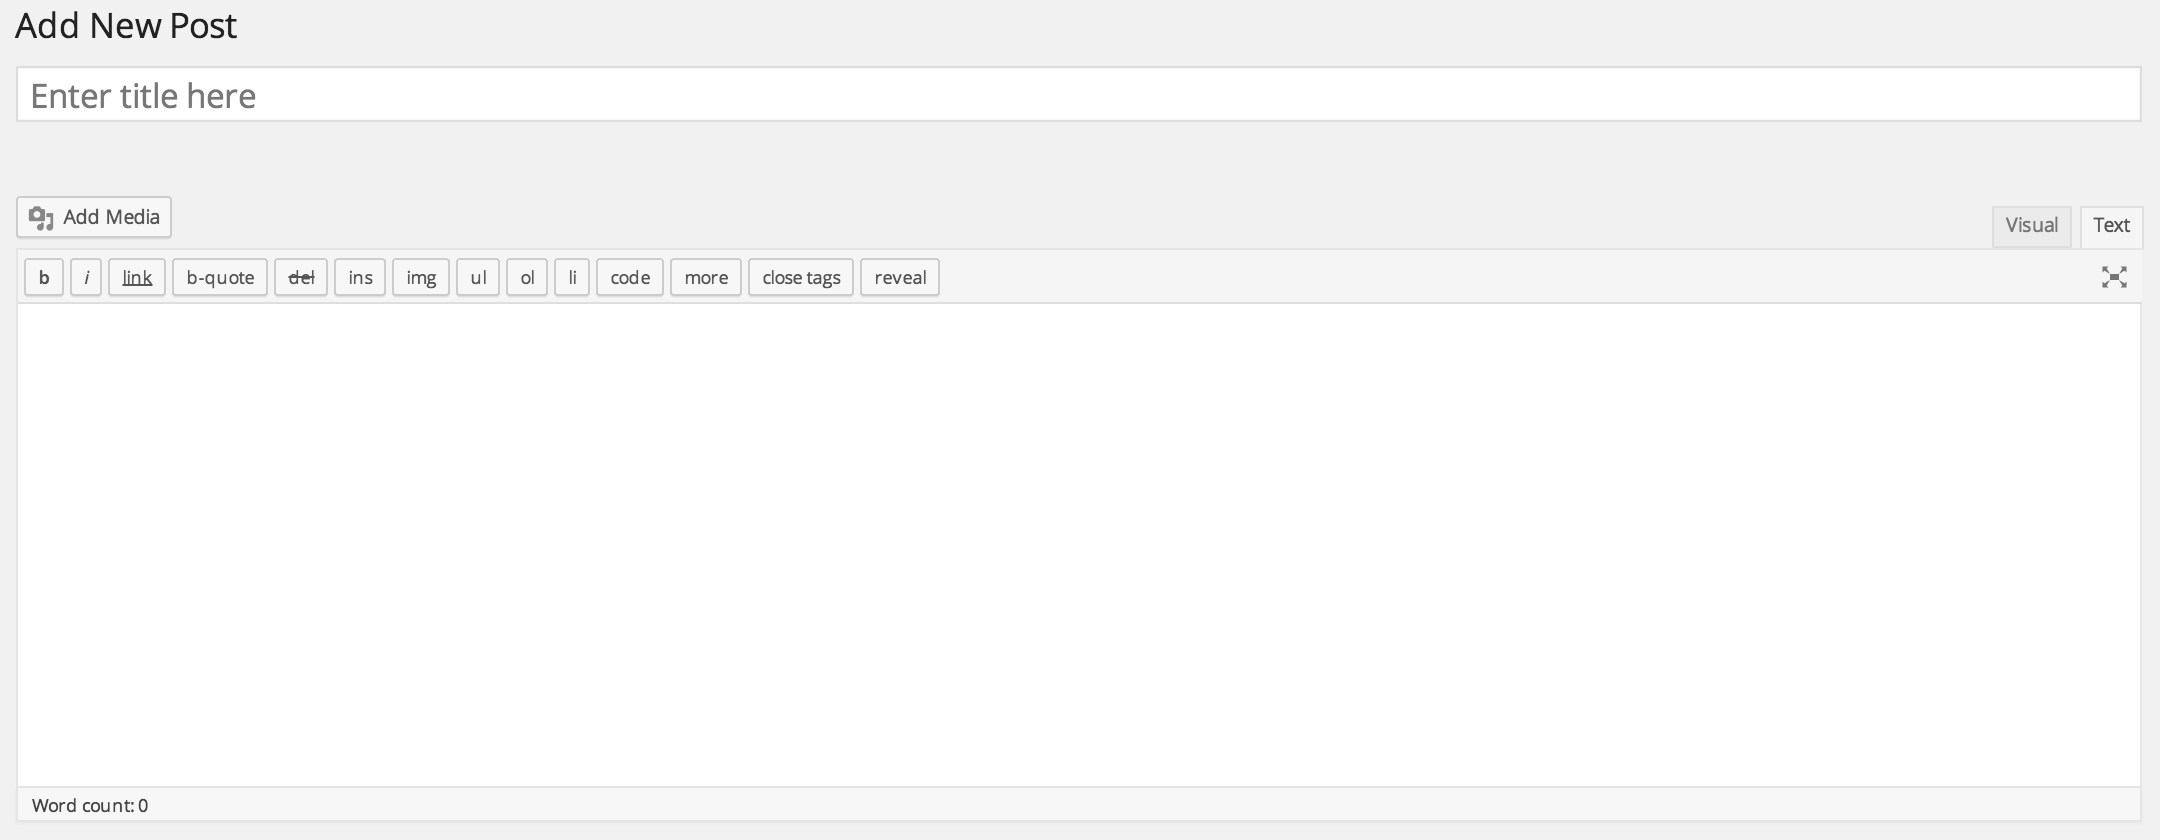
Mostly, you will be posting new blog articles. To do so, begin by clicking the Add New button at the top left of the Posts page or menu drop down under the Posts section.
When adding a new post, be sure to categorize it. For example, group articles that contain videos together in a Videos category. This allows for your website viewers to easily navigate to the sections they are searching for. Simply check the existing category the post should be added to or create a new one – the categories option is located on the right of the Add New Post page.
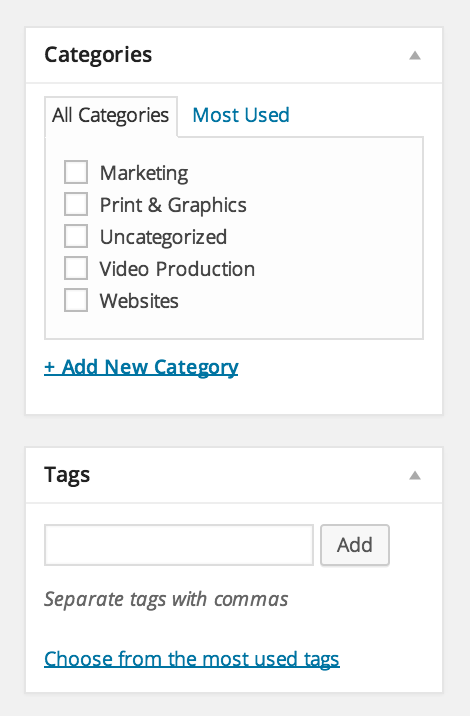
Manage your categories by clicking the Categories link under the Posts menu drop down.
The steps to publish an article are the same as they are for adding a new page – see instructions below (link).
Media Quest recommends posting at least one blog article per month. Posting regularly helps bring traffic to your website. This is because search engines boost the rank of websites that offer relevant content. So make sure to provide your expertise to your customers regularly!
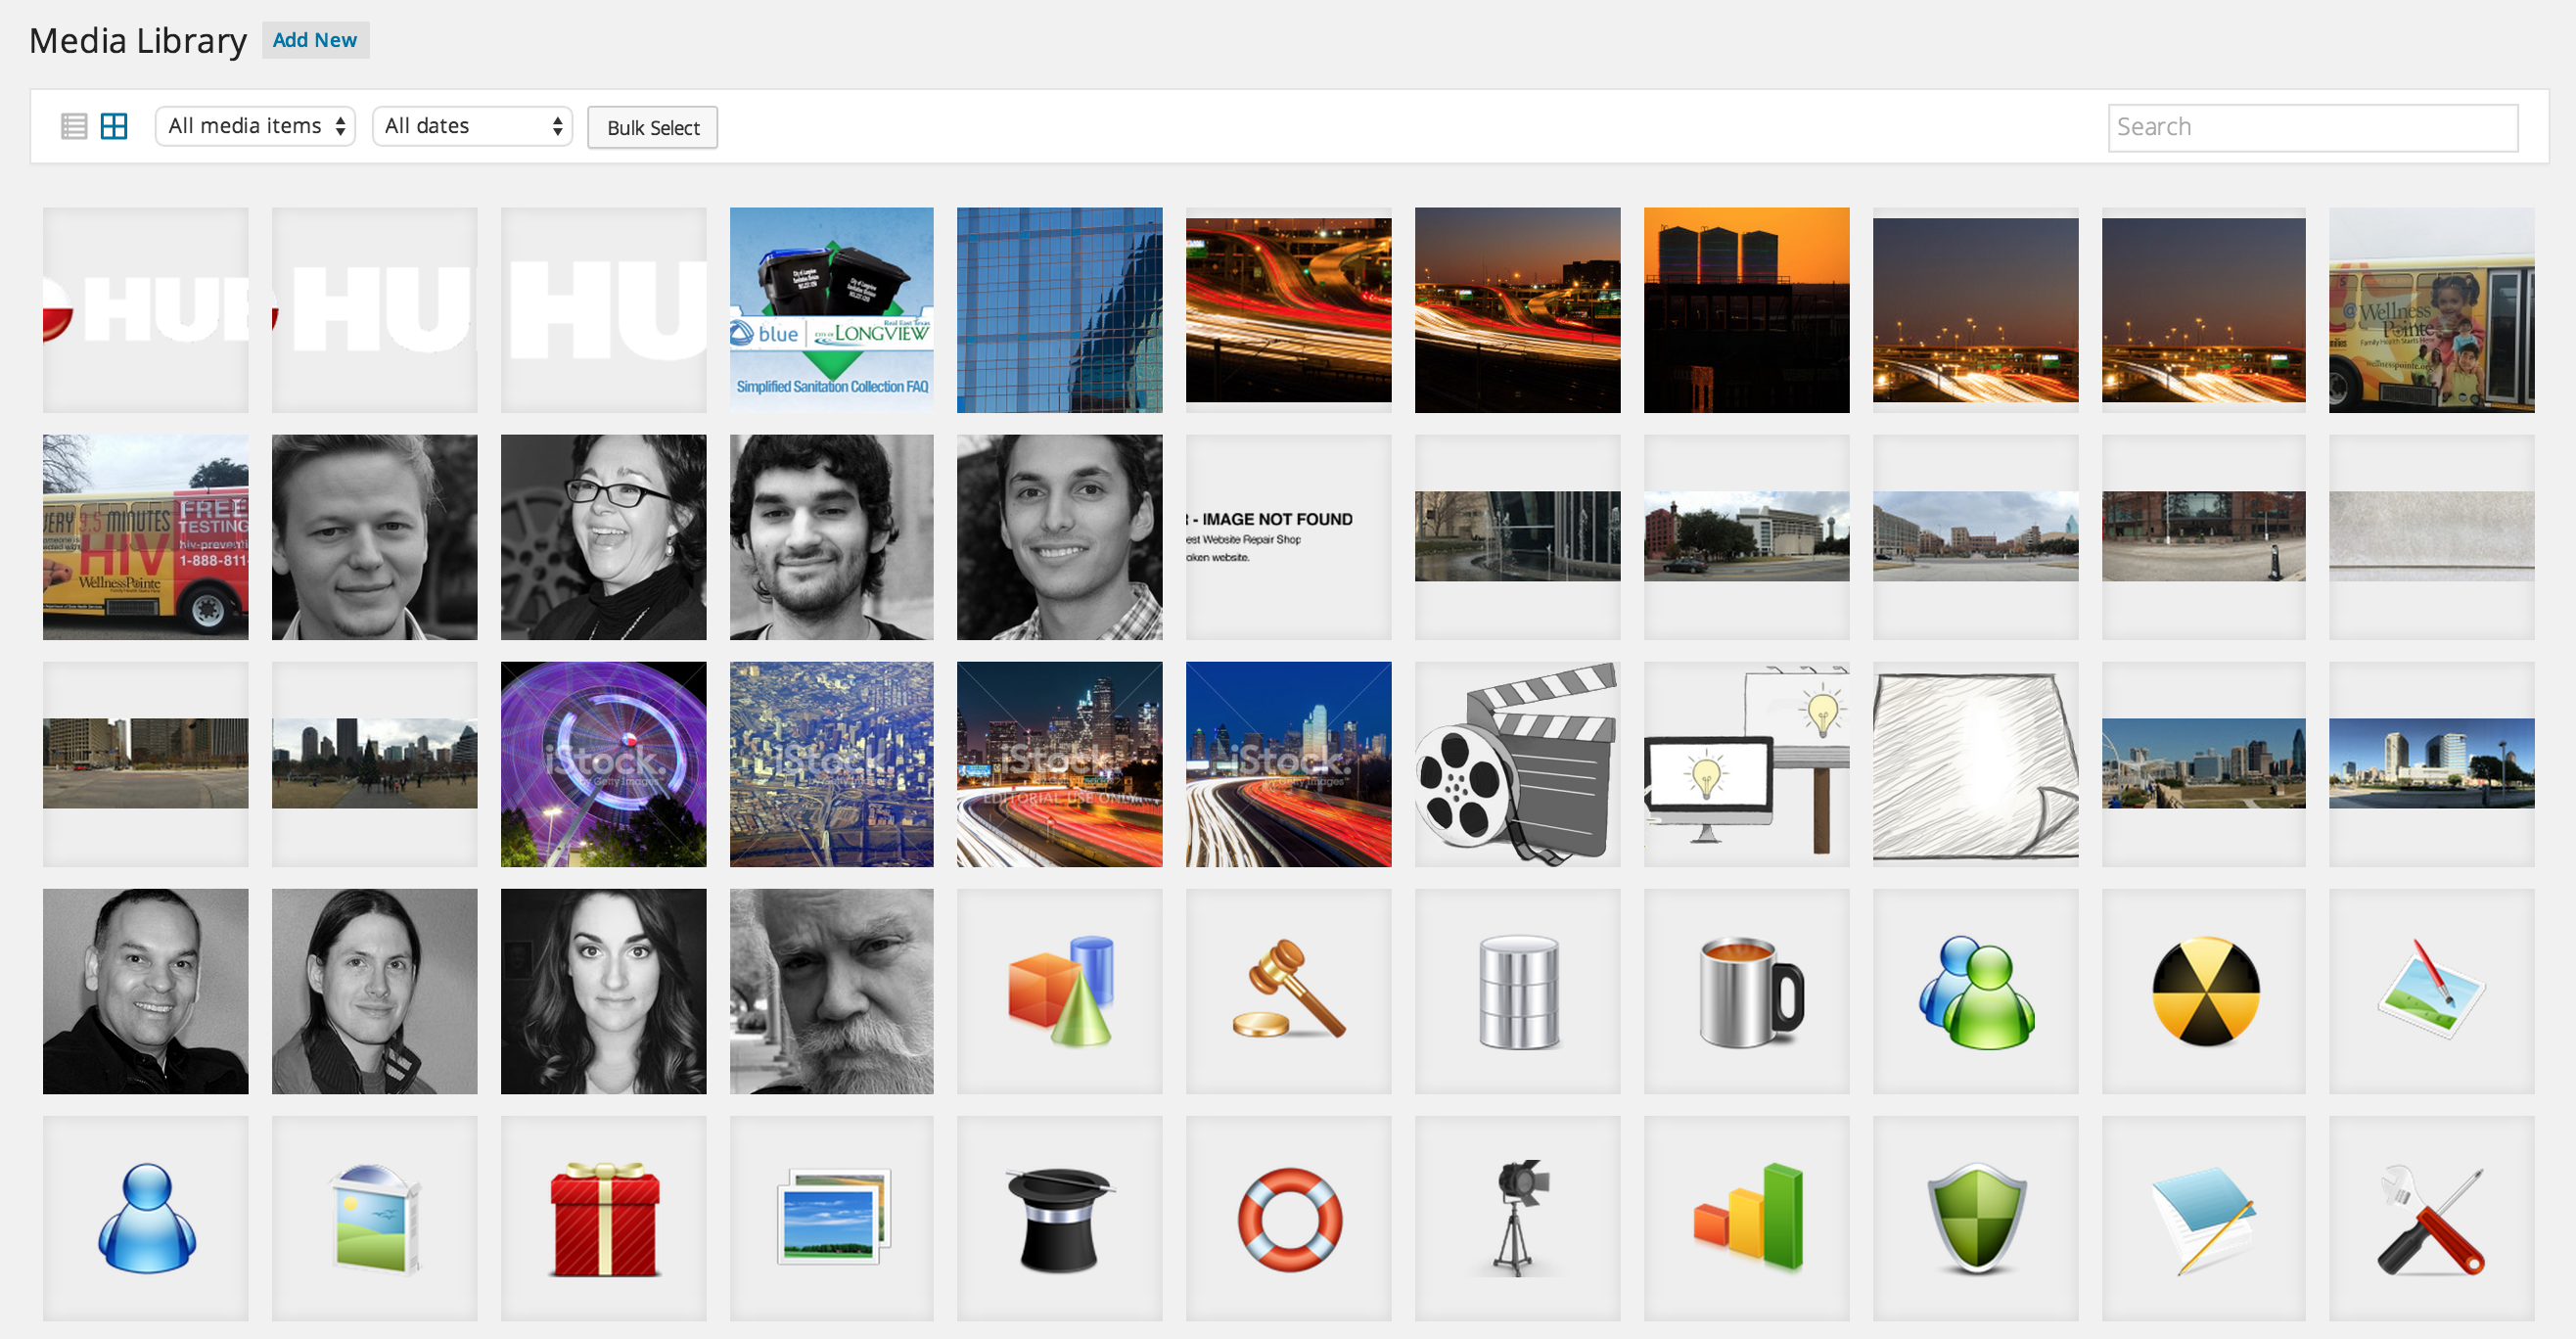
Media Library
The Media Library is where you manage all of your photos, videos, and music files. By default, the library page loads in a gallery view that allows for filtering and bulk edits.
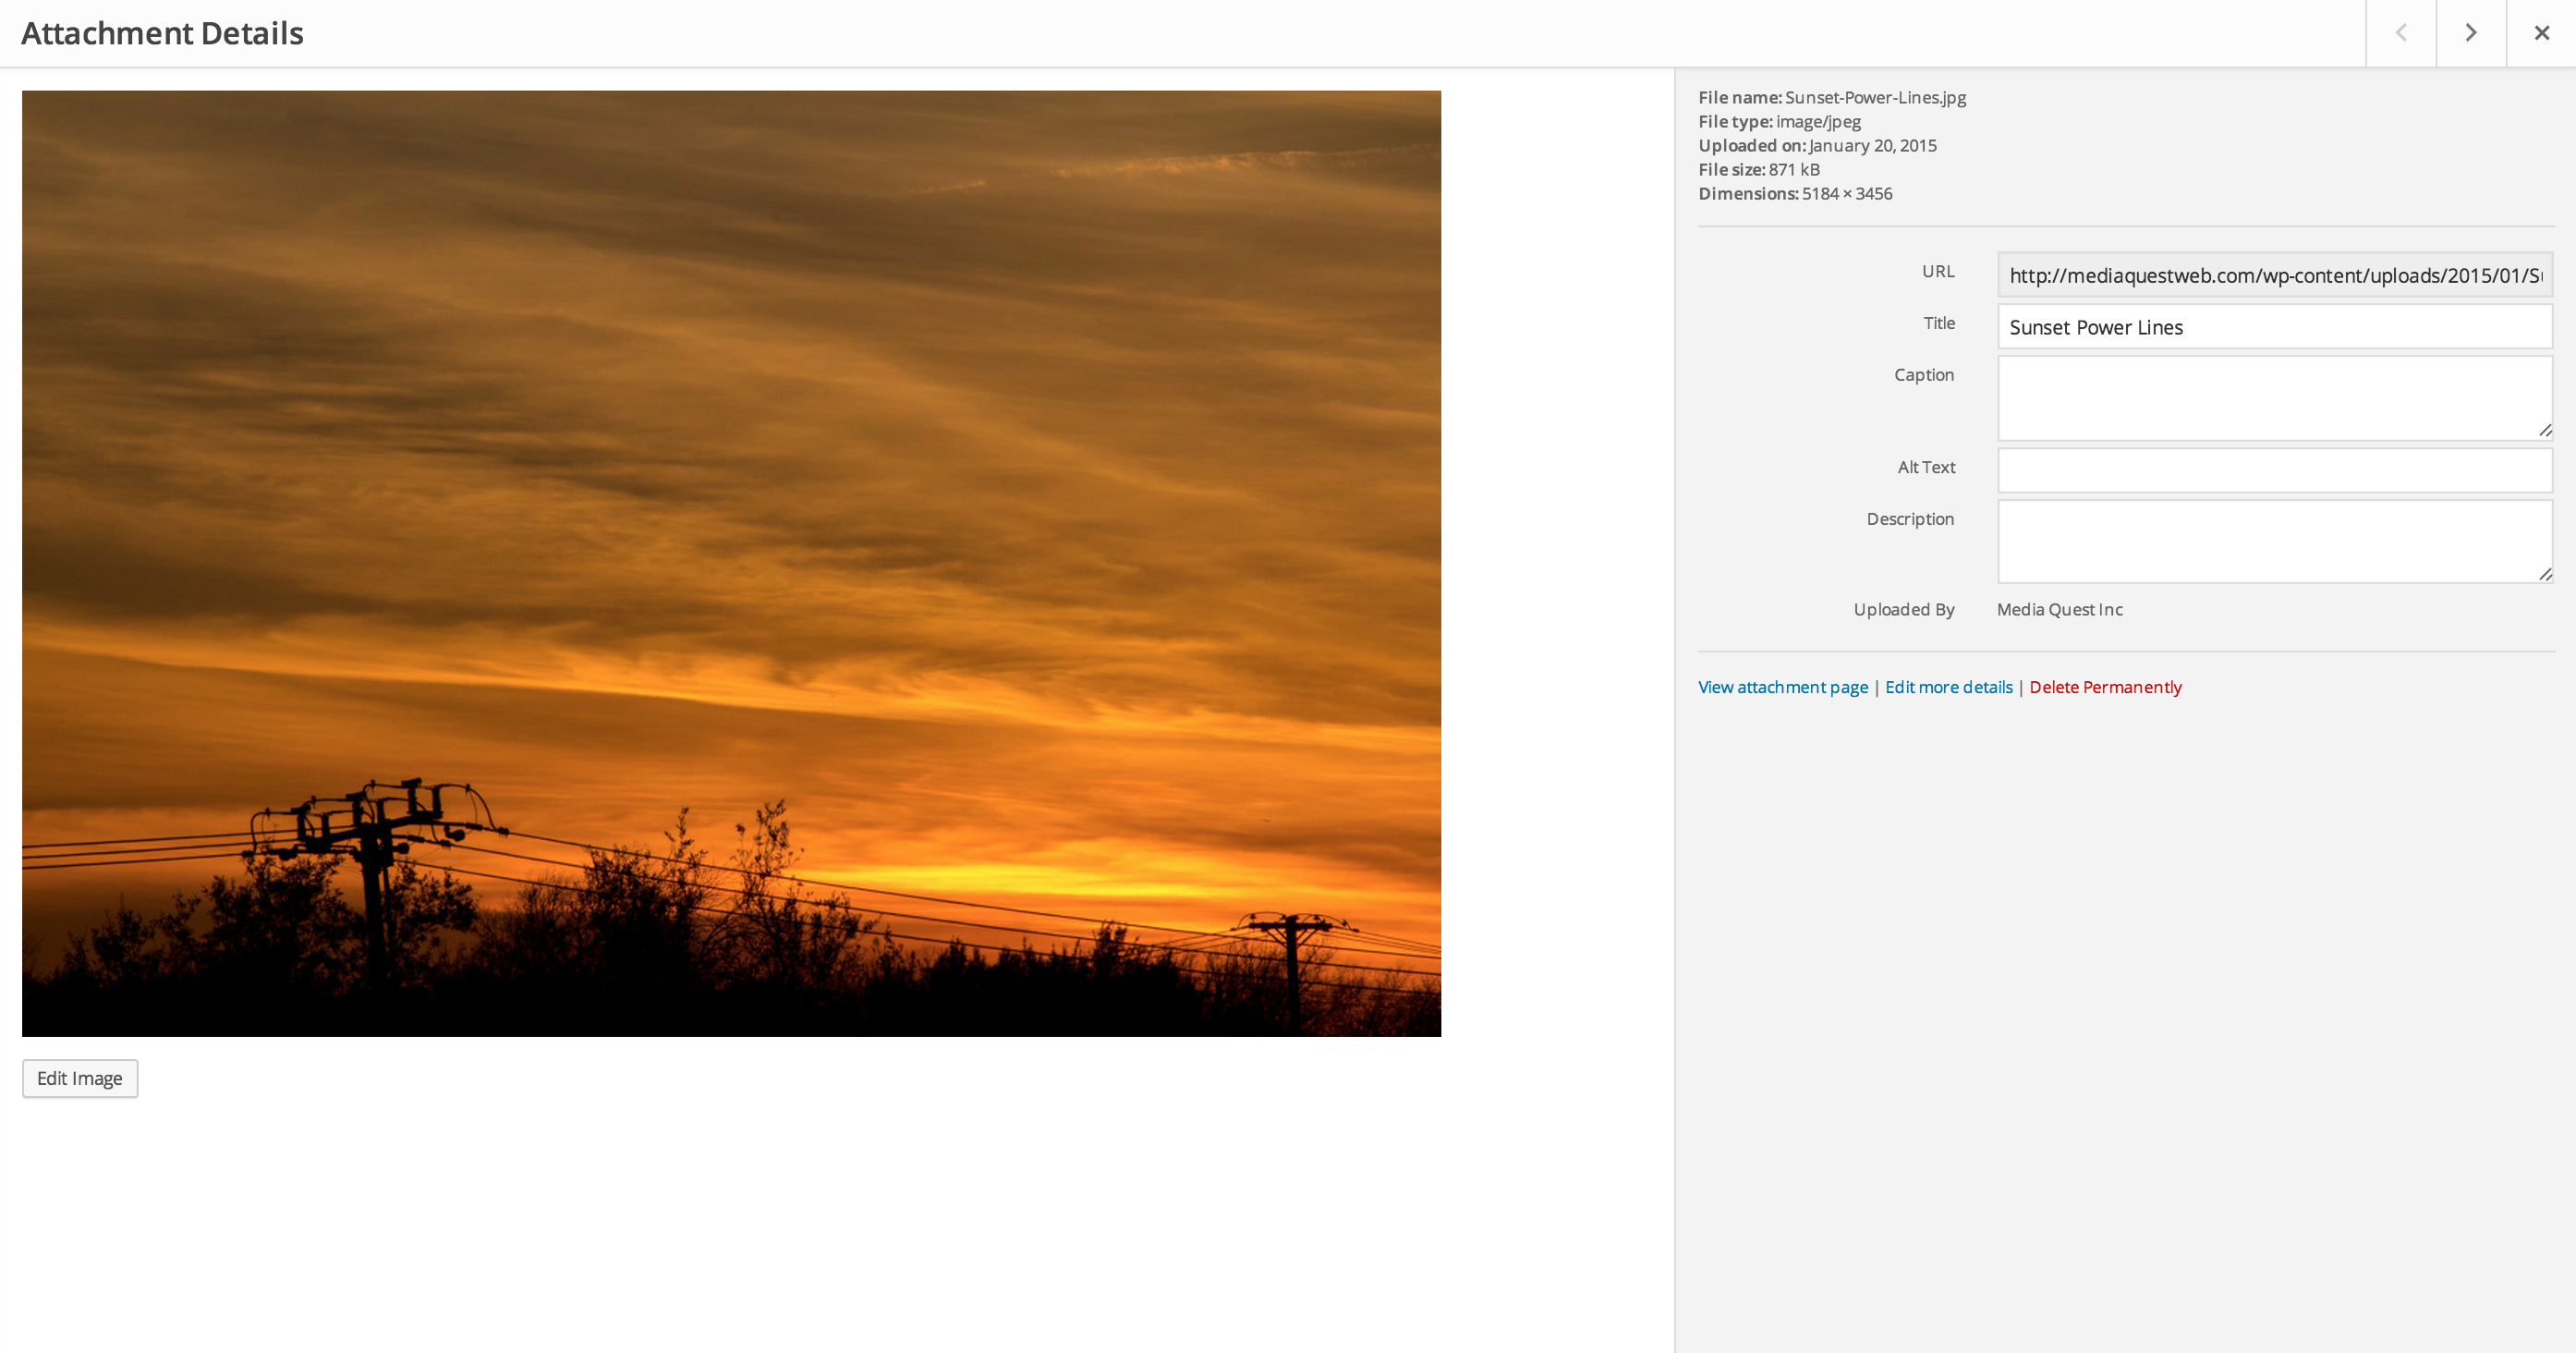
Select an image in the gallery to open the detailed media view pop up. From the pop up, you may edit the image (reduce the size to improve load speed) and the text (always add a relevant Alt-Tag).
To add new media, simply drag the file onto the gallery view page, or, click the “Select Files” button that appears after clicking the “Add New” media icon at the top left of the screen. If your image is large (2,000+ pixels by 2,000+ pixels), reduce the size by clicking “Edit Image” and then typing in 1920 or lower into the width box (highlighted blue in the picture below). The ideal image for a WordPress website is around 400-1,000 kb in size and 72 pixels per inch as the resolution.
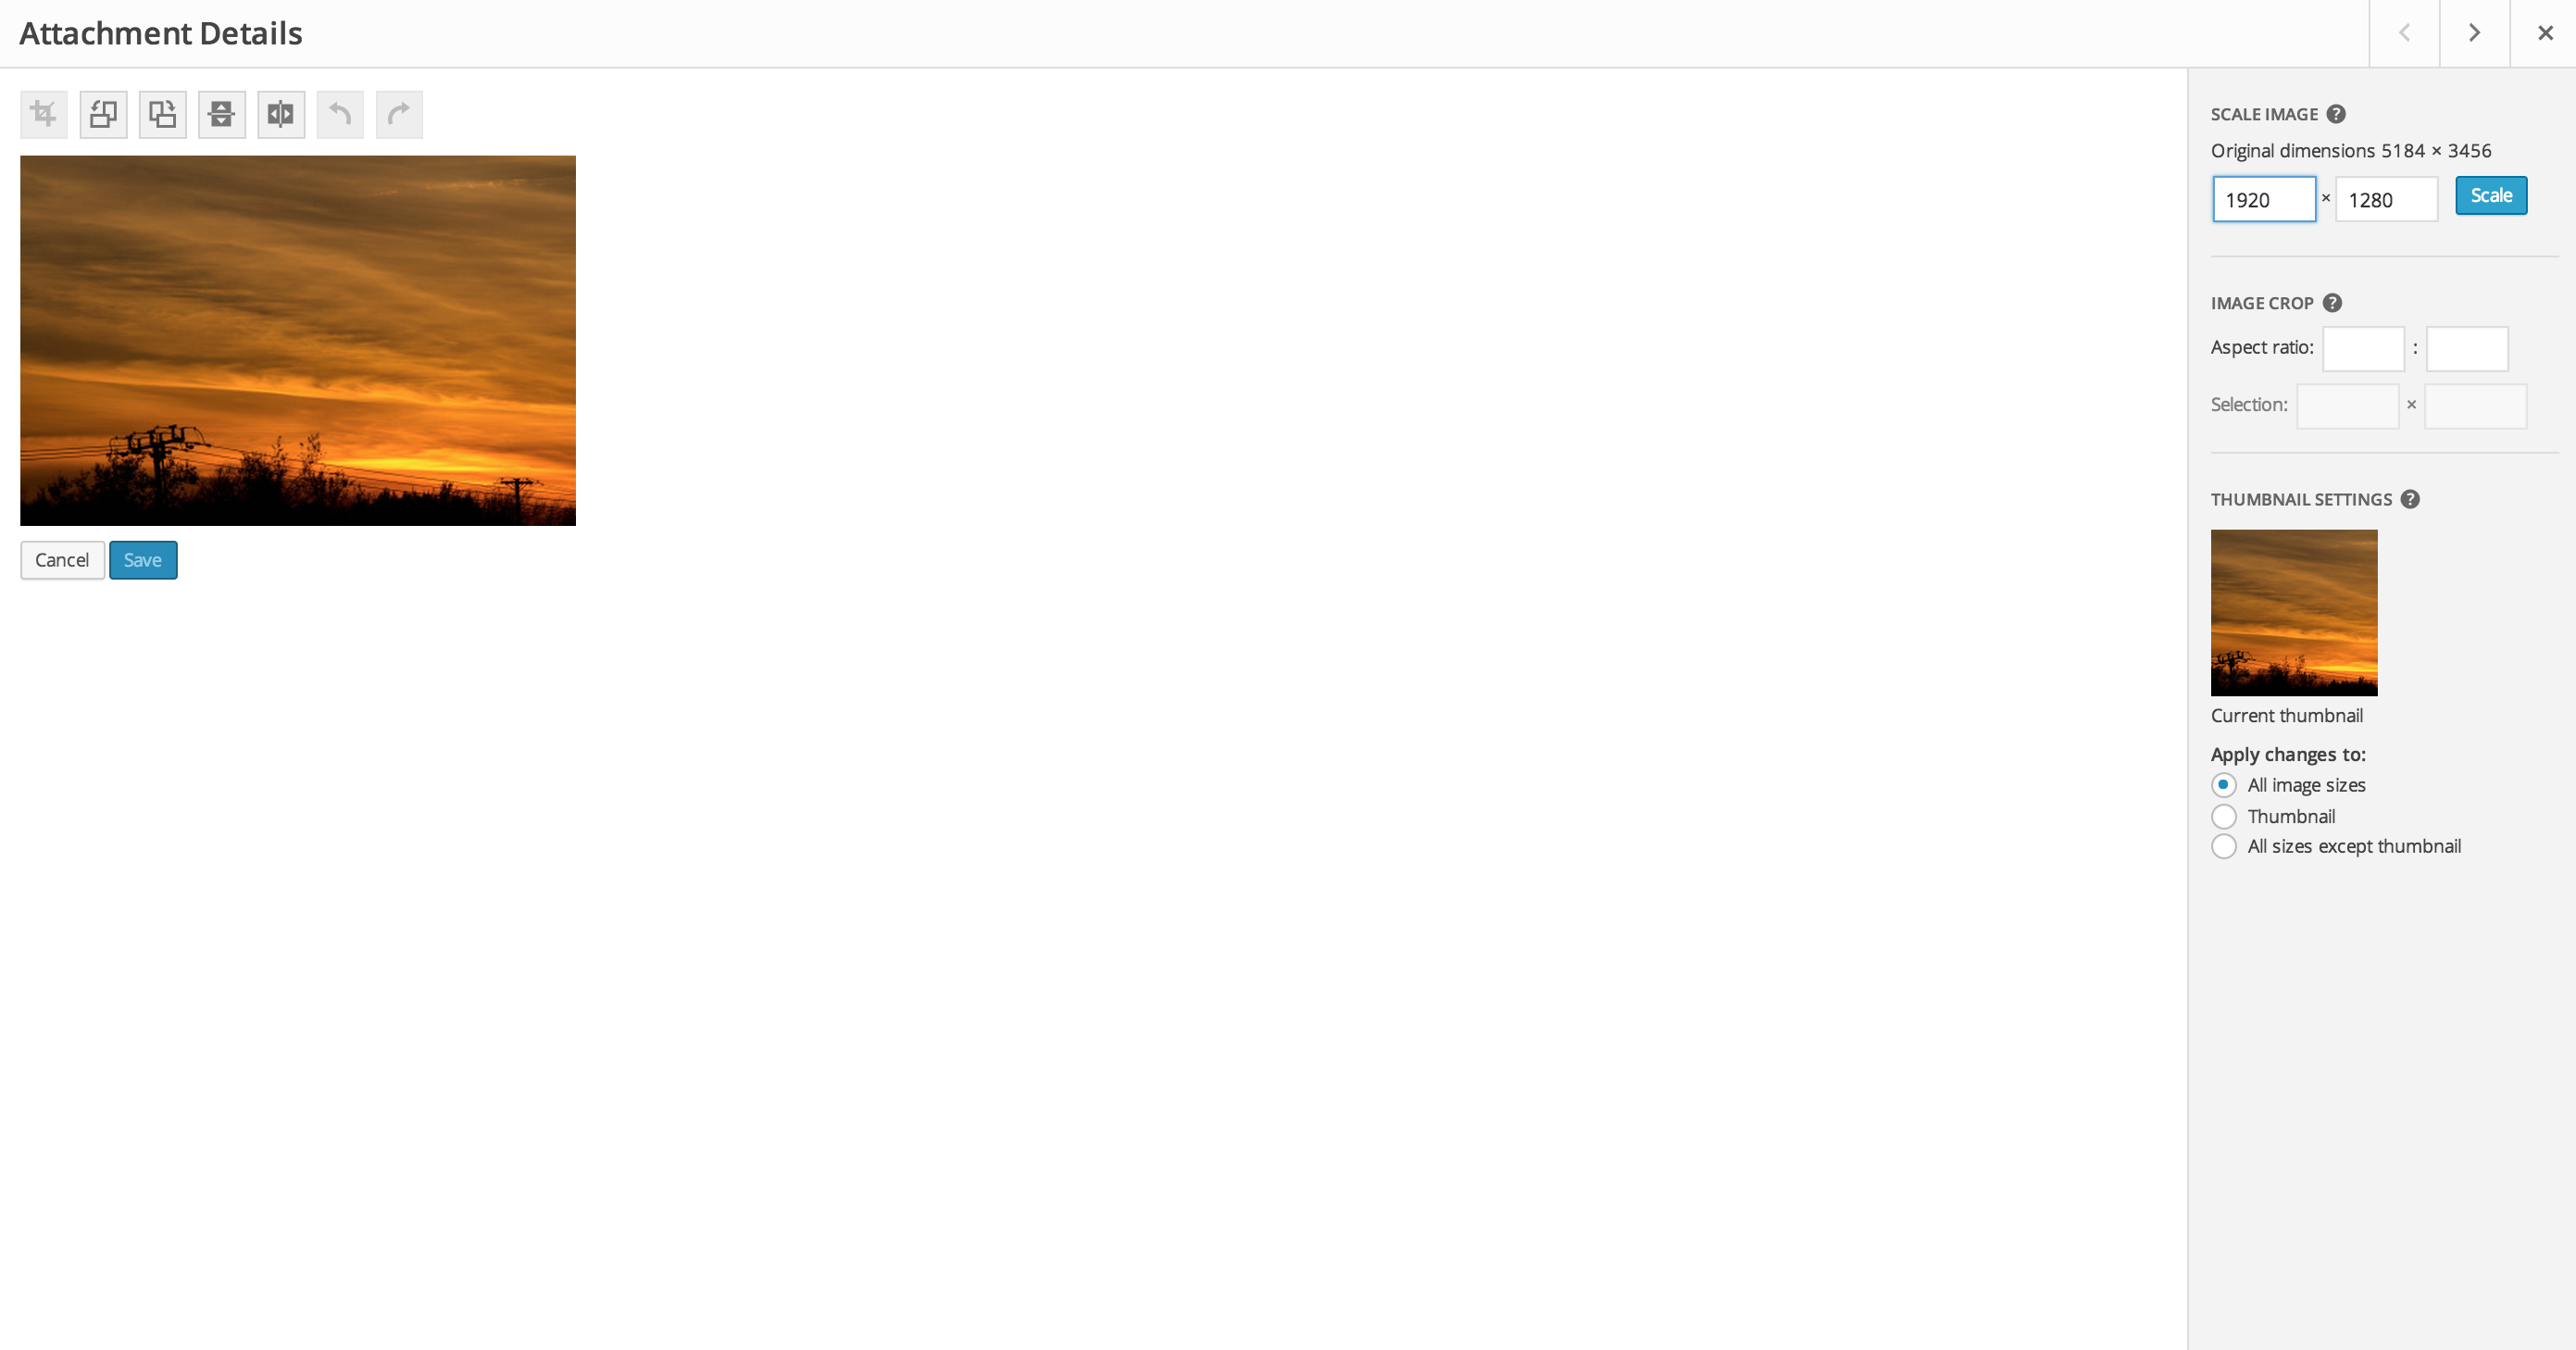
Confirm the image resize by clicking “Scale” and then close the pop-up.
To add an image into a blog post or a new page, begin by clicking in the text area box and then selecting the Add Media icon.
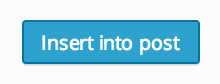
Either upload a new image or select an existing image then click the blue button that says “Insert into page.”
The resulting code that is generated will look like this:
< a href="/wp-content/uploads/2015/01/Downtown-Dallas-11-e1420495599684.jpg">< img src="/wp-content/uploads/2015/01/Downtown-Dallas-11-e1420495599684.jpg" alt="Downtown Dallas-11" class="alignnone" />ENTER YOUR CAPTION HERE
*without the spaces before and after the a’s
Here’s how it the code looks on your page:

Pages
Pages are the body of your website. Everything from your Home page to Checkout page is constructed using the Pages function of WordPress.
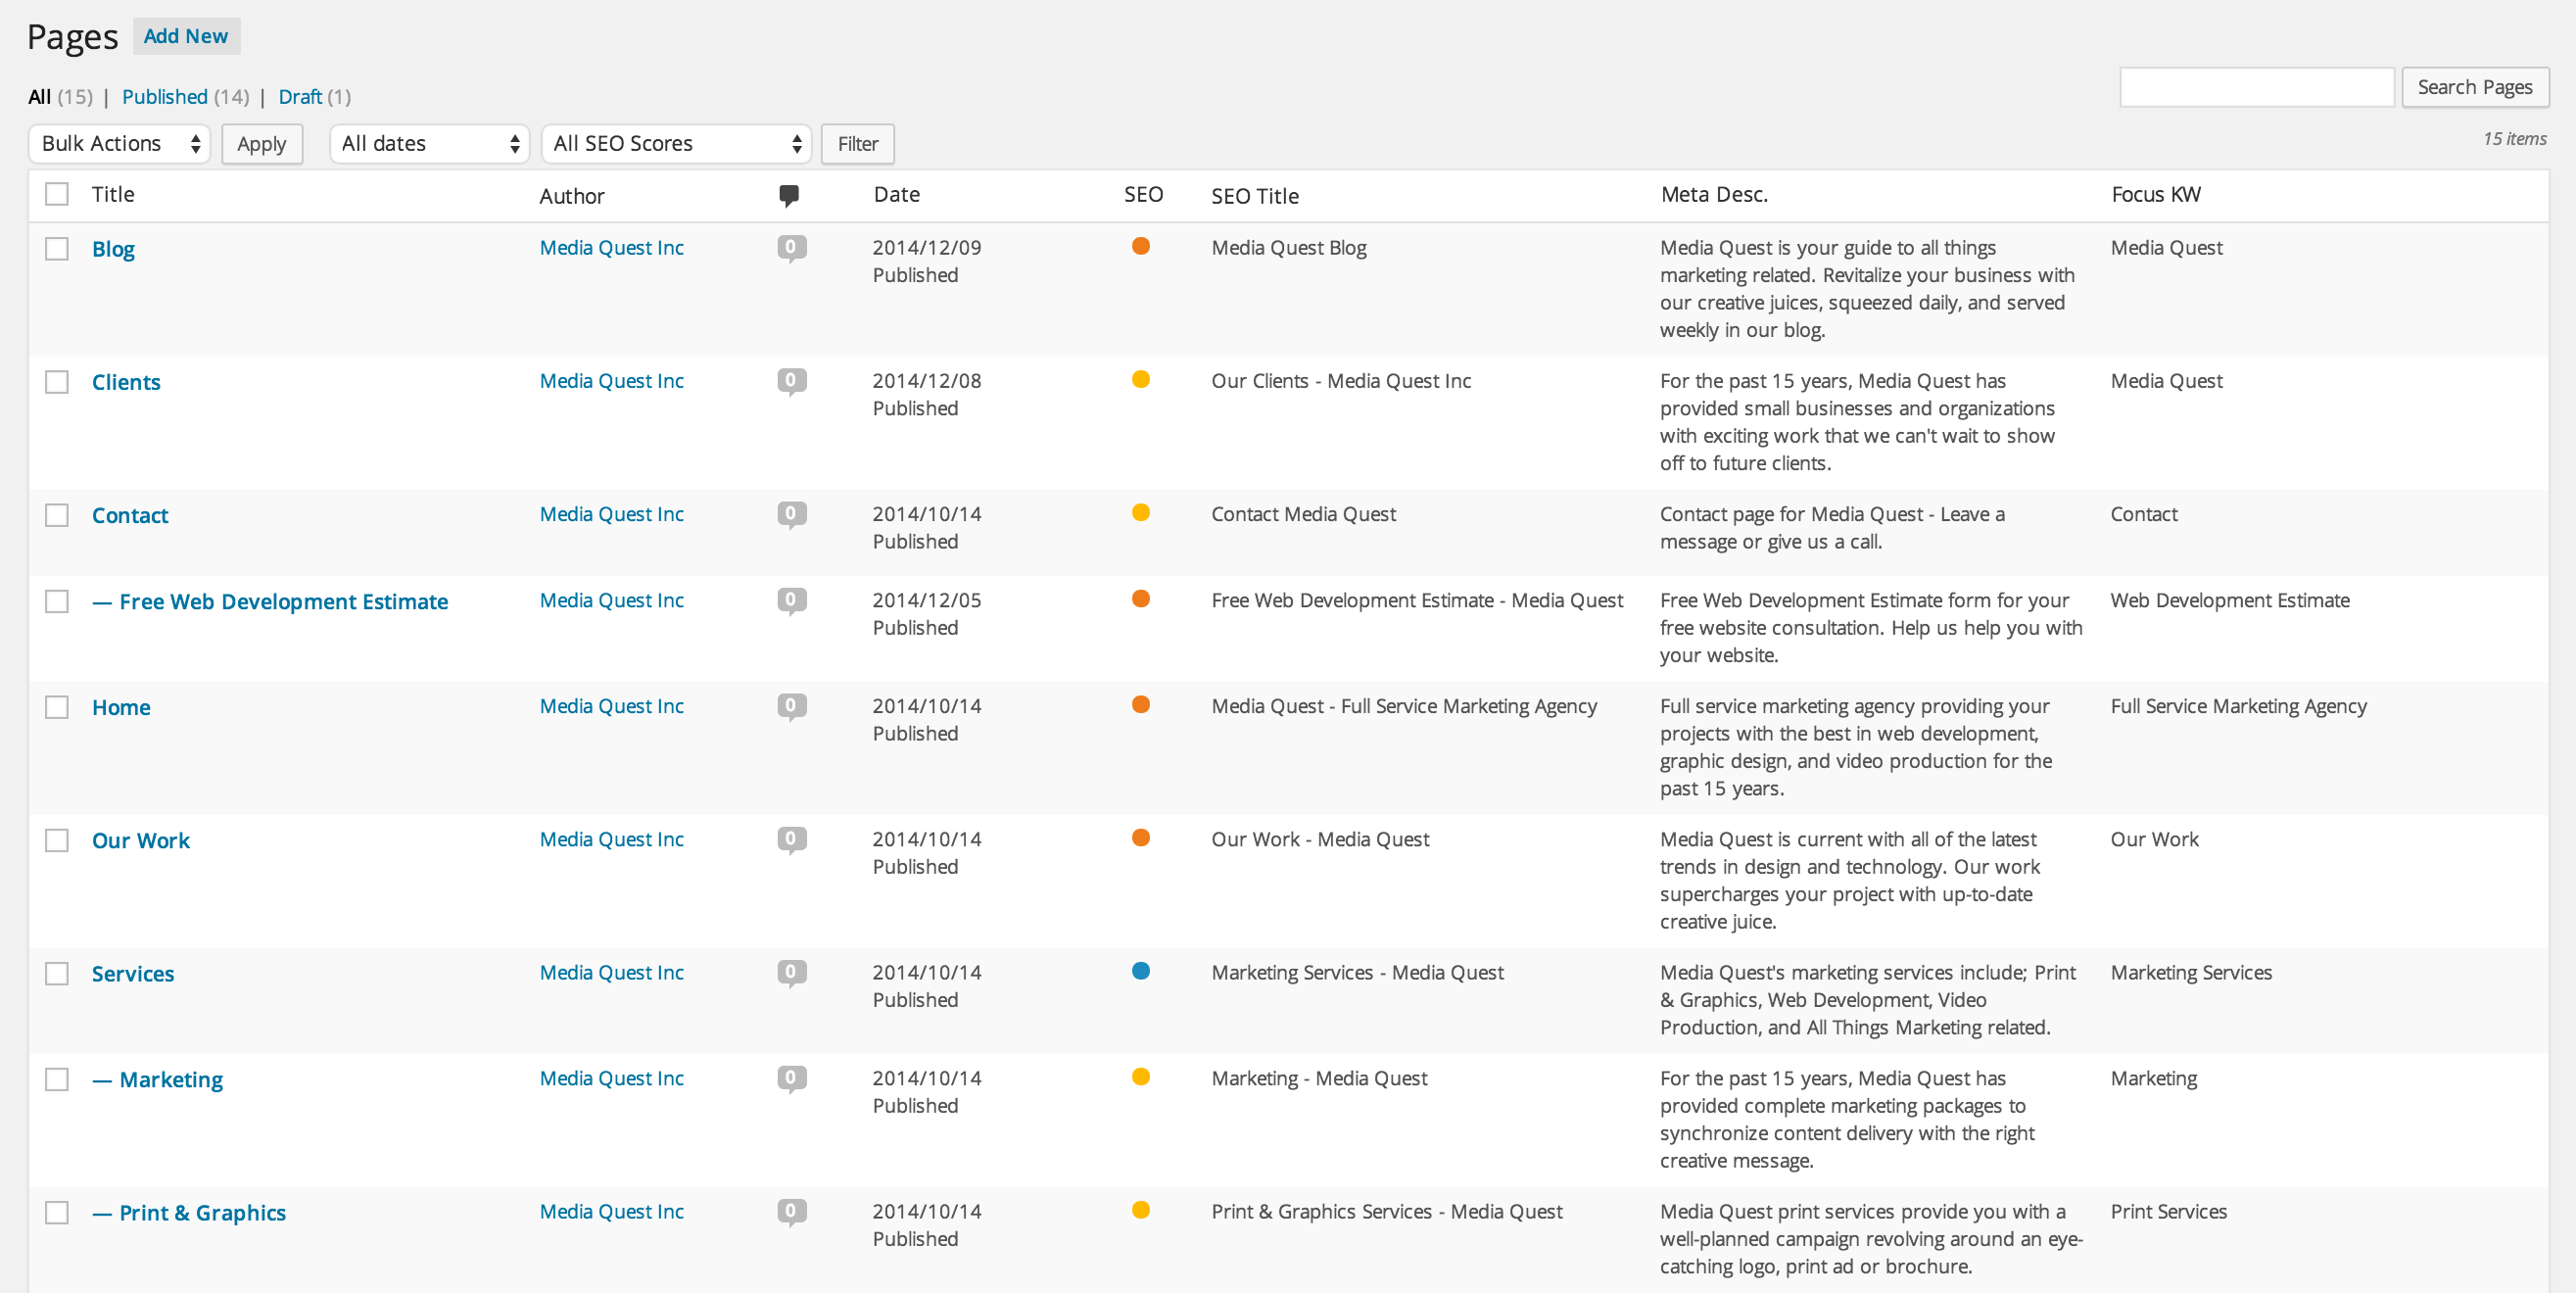
Navigate to the Pages section by clicking the Pages icon on the left menu. The default view lists all of your existing pages where you may filter and bulk edit. Select an existing page to edit the content within.
Select “Add New” to add a new page to your WordPress website. In this example, we will add a FAQ page to our About Us menu. Begin by giving the page a title – for example: FAQ. Next, choose a parent for the new page – for this example we will select our About Us page as the parent of the new FAQ. Then, set a featured image in the box below Page Attributes. Featured images are vital for search engine visibility. Your featured image for the page appears on search results and whenever the page is shared through social media channels. Finish up the page by adding your content into the large text area in the middle of the screen. If you would like to add media to the page, follow the steps described above.
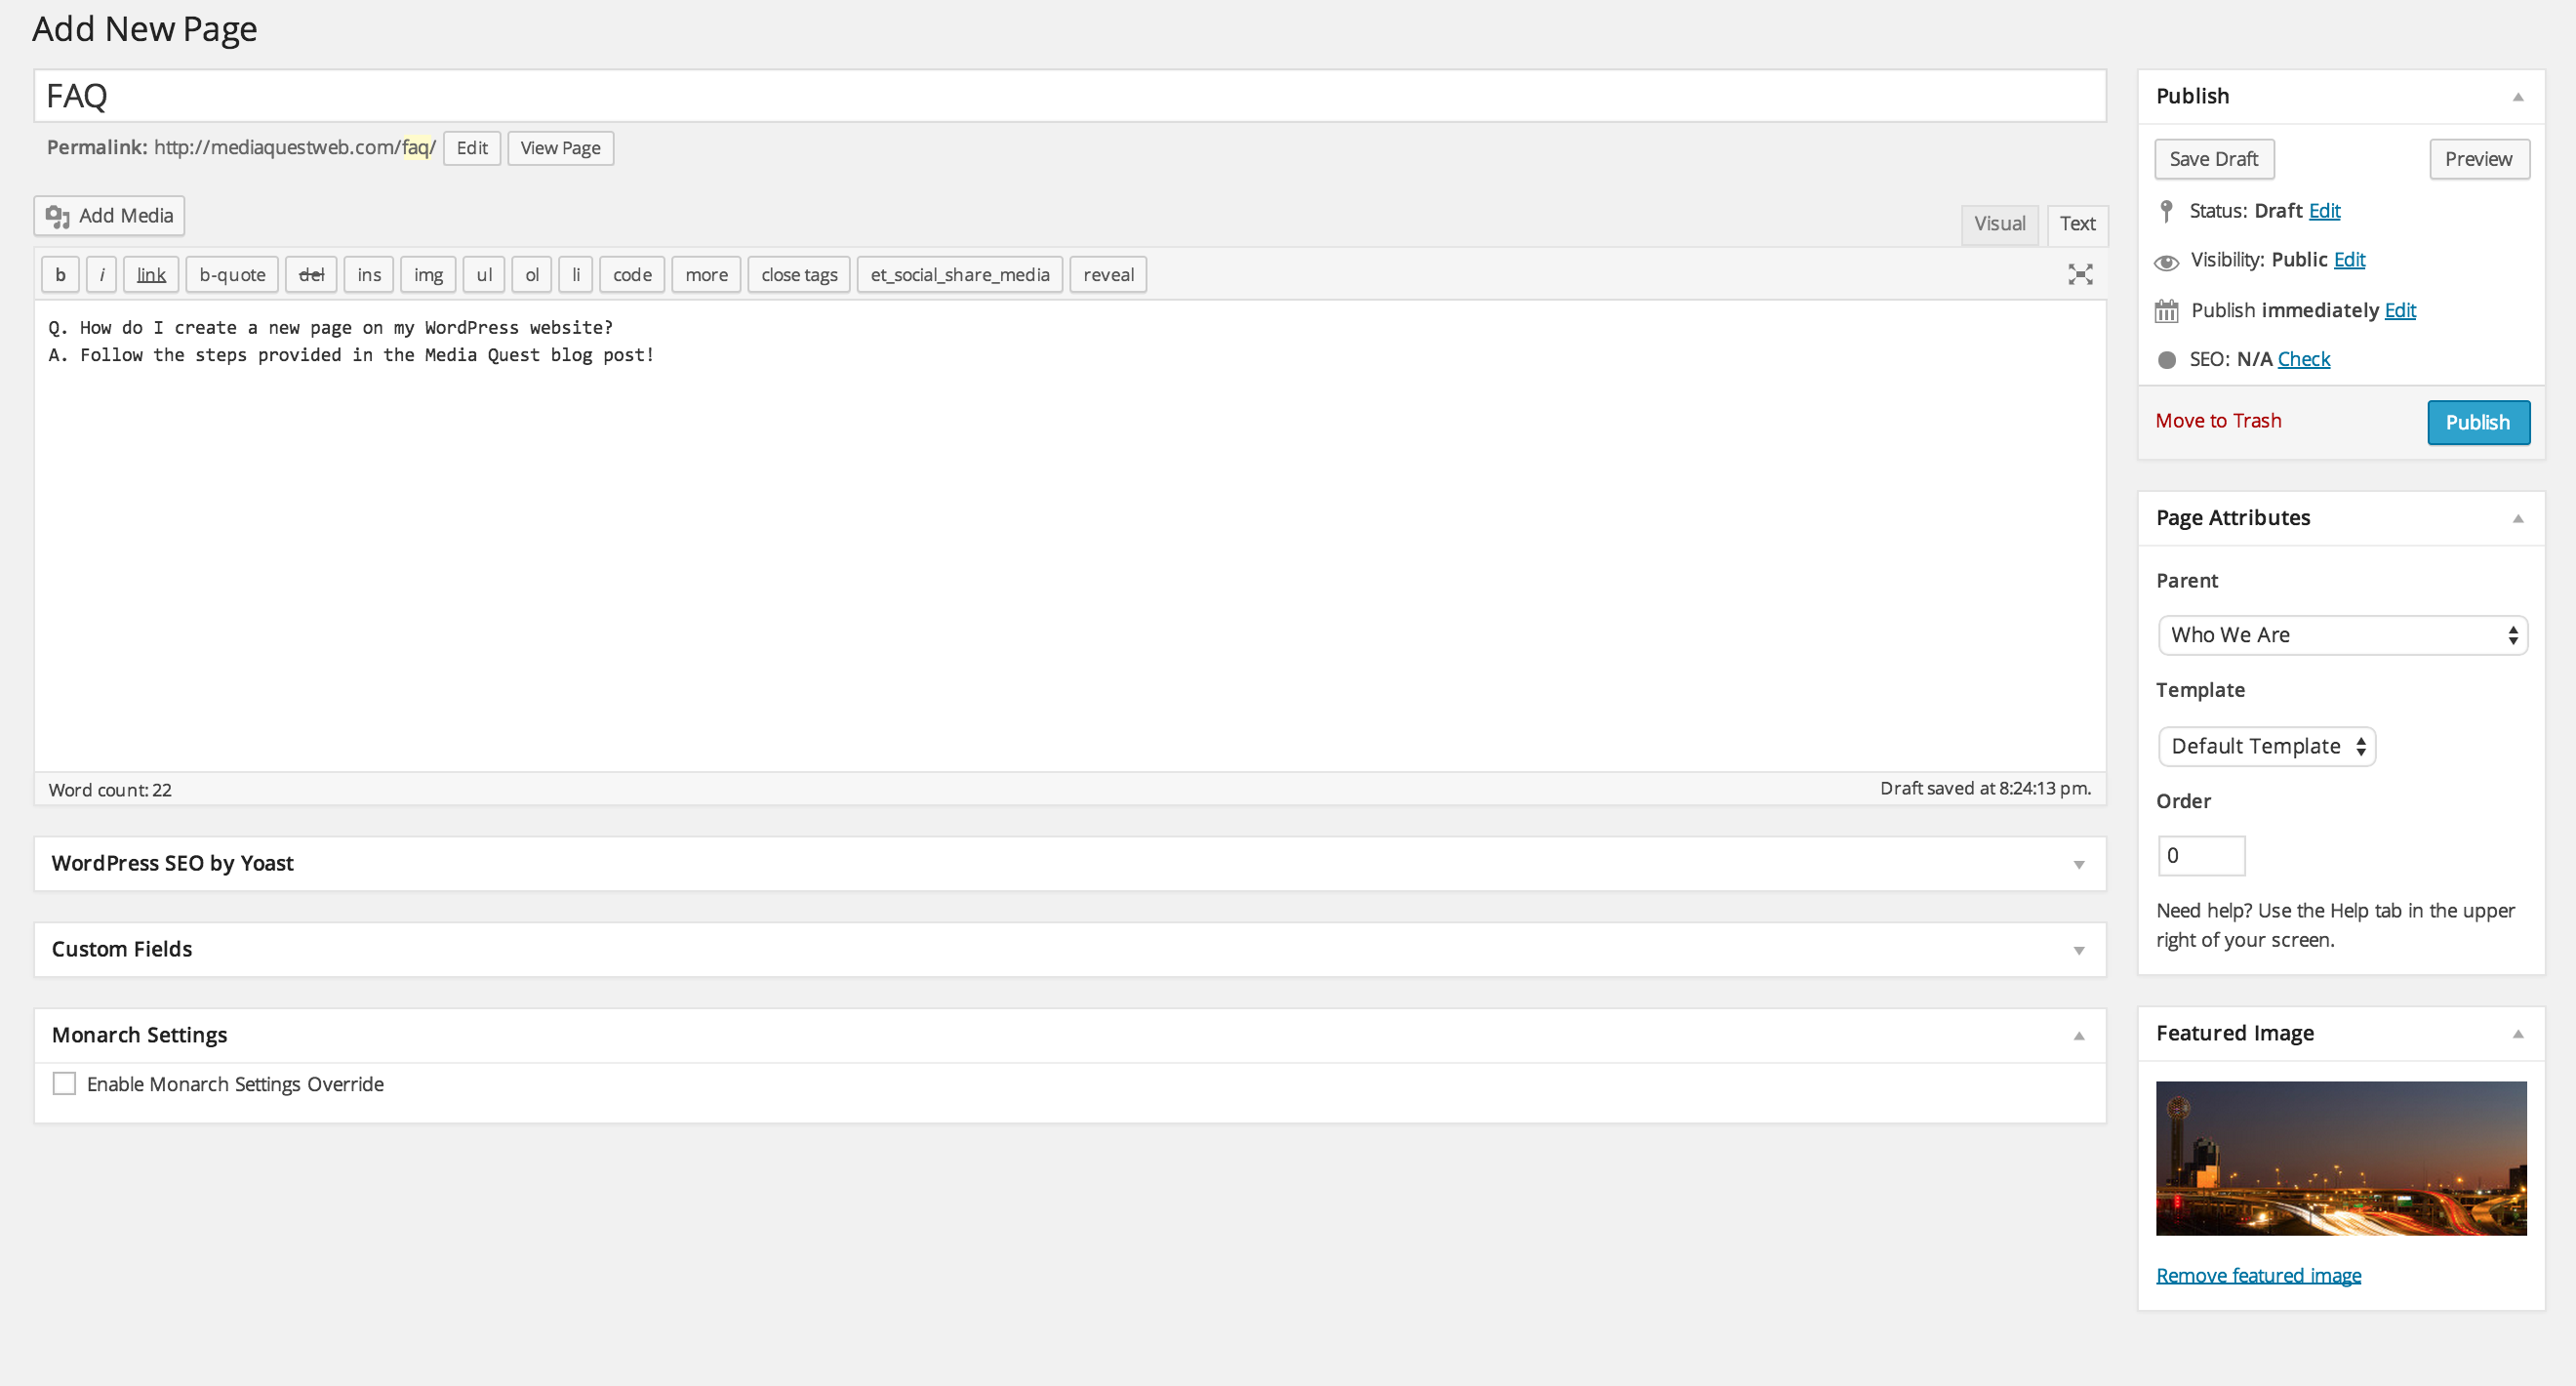
Be sure to Preview your new page before you publish it! The button is located in the top right box. Additionally, if you are paranoid about losing your work or have to get up and go, save the page as a draft – we recommend periodically clicking the Save Draft button.
Publish the page whenever you feel it is ready for visitors.
Comments
Your website is the perfect place for your customers to voice their feedback and opinions. WordPress provides a great comment system that allows for customer interaction. By default, comments require administrator approval to become “live” on the site. This is to help prevent spam and unwanted notes. To approve a comment, navigate to the Comments page by clicking the link on the WordPress menu.

Select the new comment or hover over the text with your mouse to reveal the Approve button.

Please feel free to contact us if you have any questions. Or, leave a comment below.